Linked devices and encryption keys
How a new device is trusted to read encrypted messages, how to sign in by scanning a code instead of typing a password, and what unlinking actually removes.
What it is
Private messages and encrypted channels are readable only on devices you have approved. Each browser and each phone generates its own key, which never leaves it, and a new one reads nothing until a device that already works vouches for it — not even the server can grant that access, which is the whole point.
Linking is the fast version of the same act: point one device's camera at another's screen and the second is signed in and holds every conversation key, with no password typed on it.
How to get there
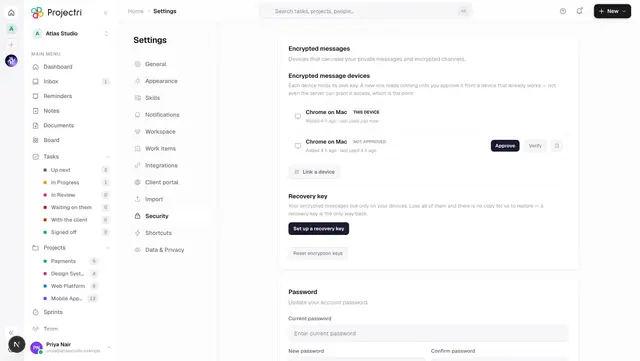
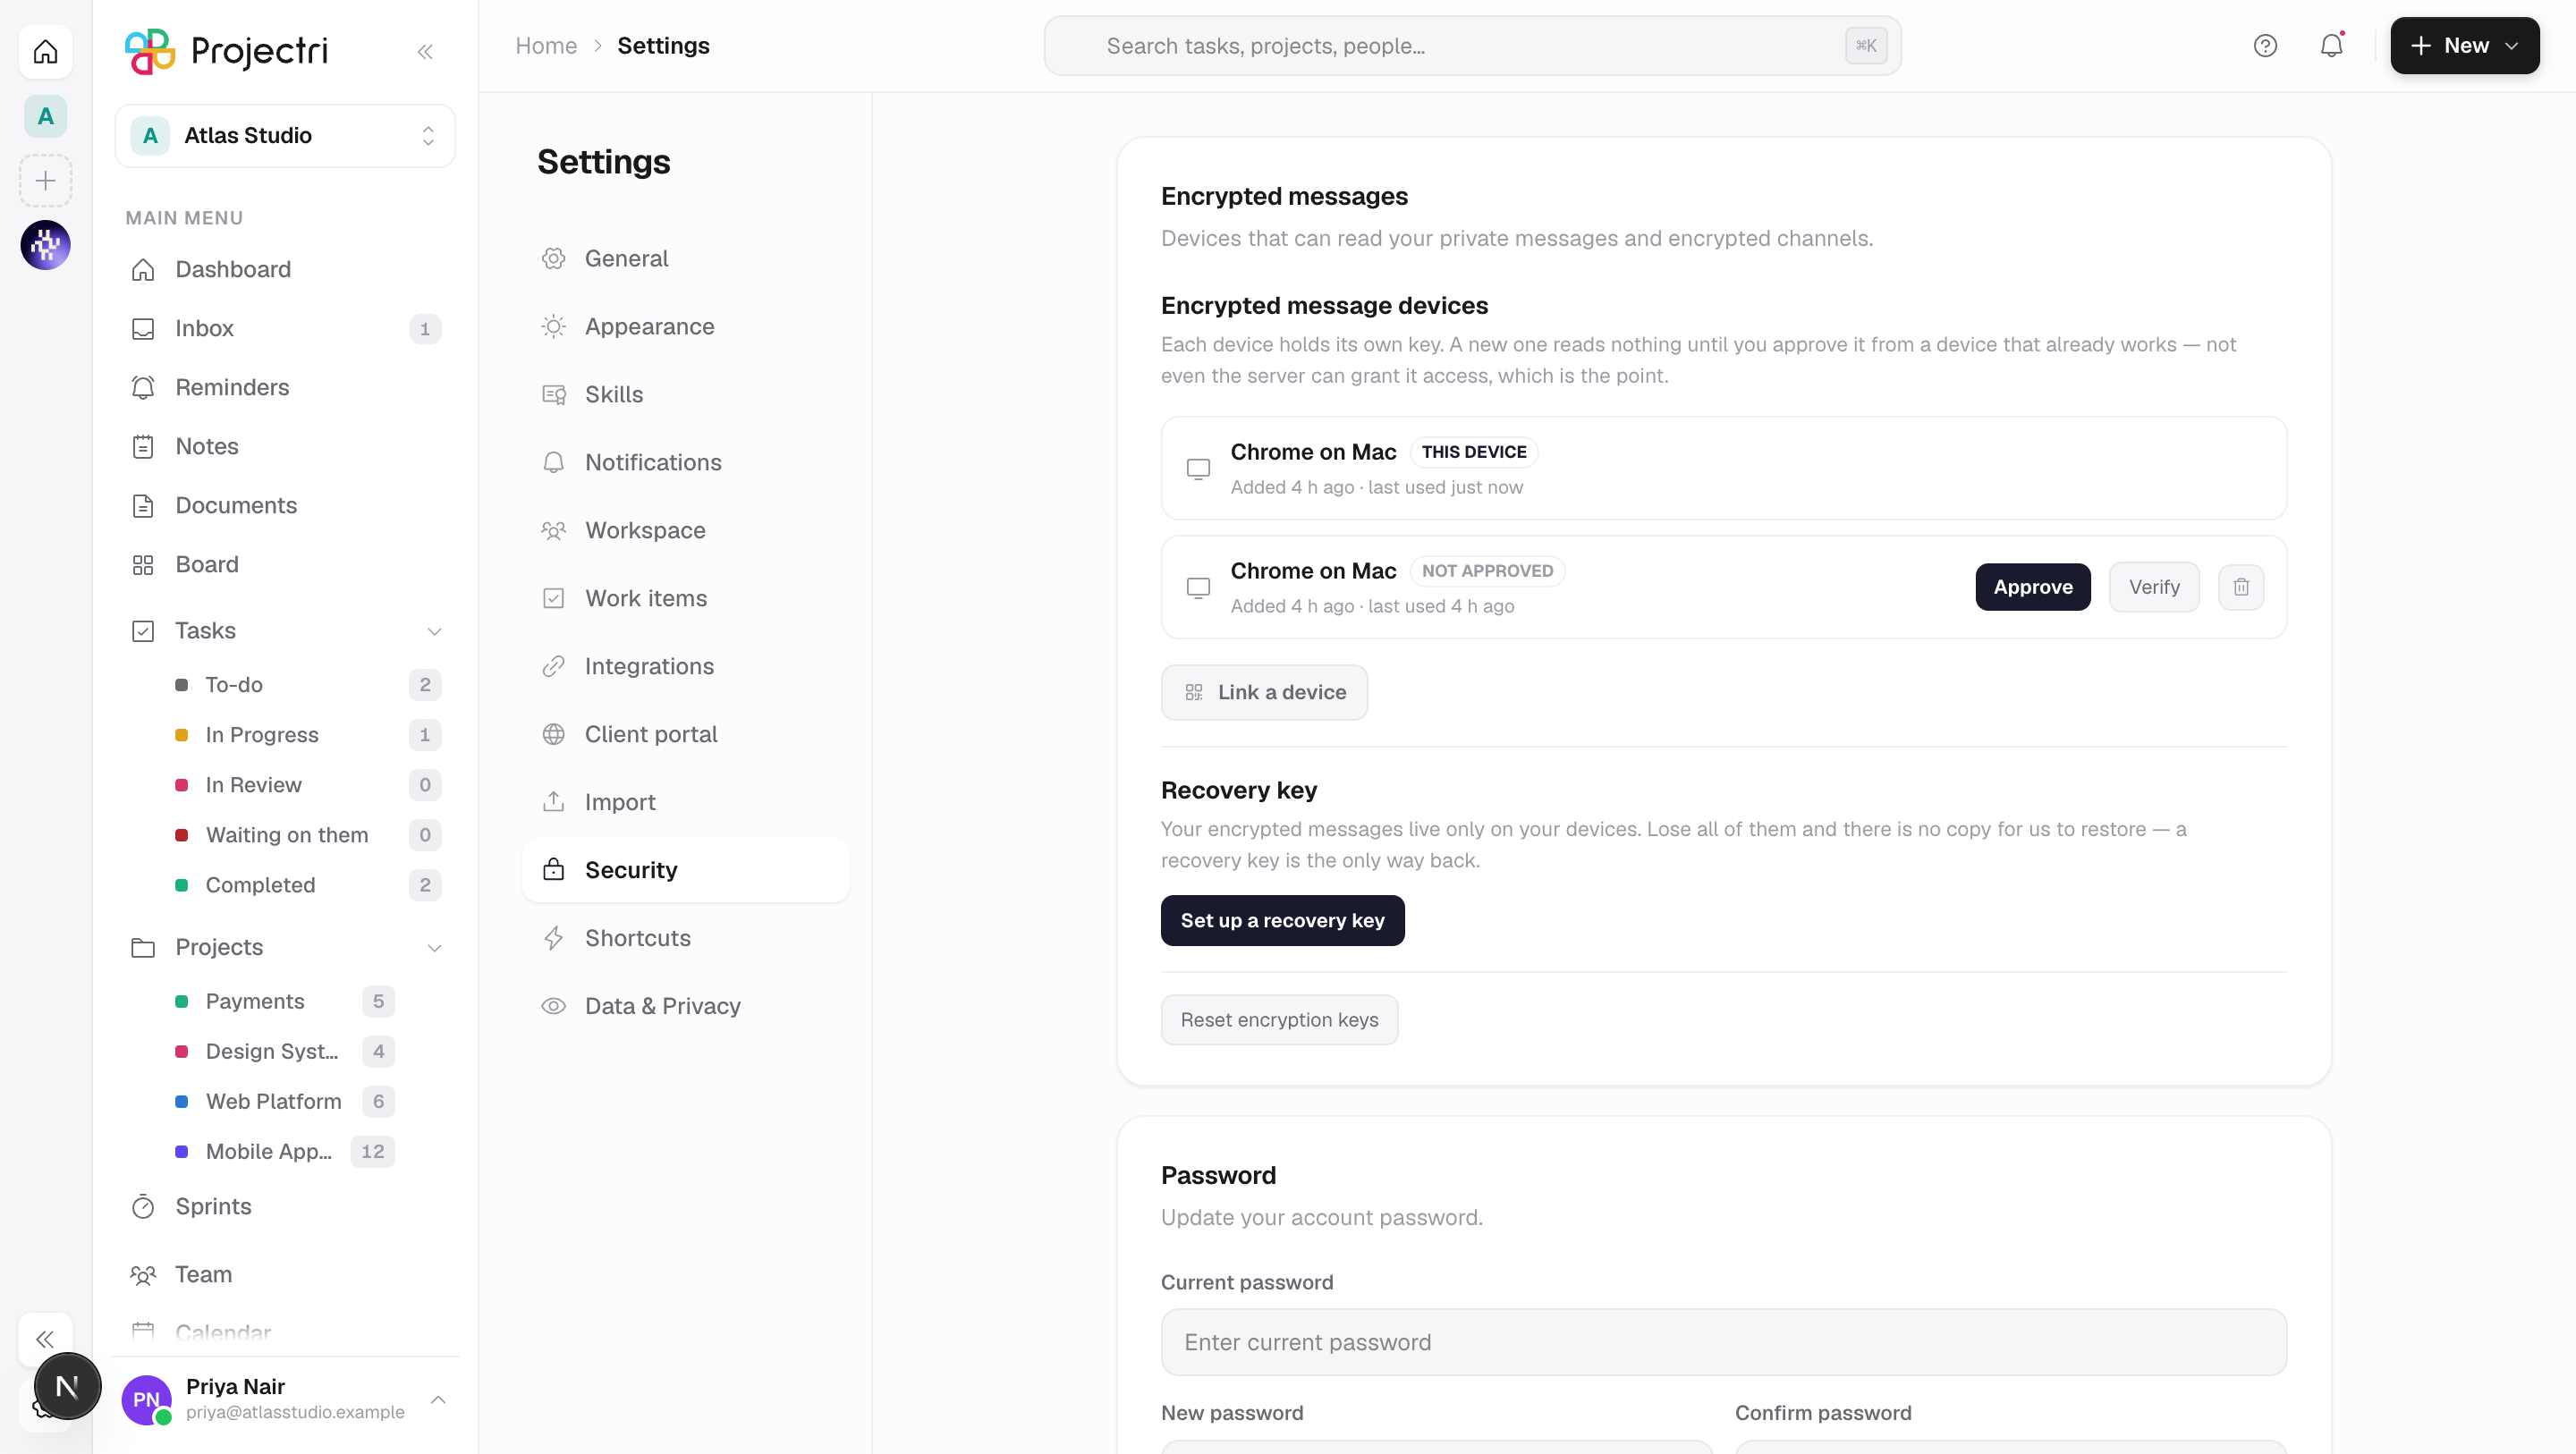
Settings → Security on the web holds three cards: Encrypted message devices, Active sessions, and the recovery key. On the phone app it is Settings → Devices for the first, and Settings → Account security for sessions. No permission is involved; these are your own devices.
How to use it
Approve a new device
- Sign in on the new device. It registers its key and shows *"Waiting for approval"*.
- Your other devices get a notification about it. The Inbox renders it inline, with the safety number and an Approve button — you do not have to navigate anywhere.
- Alternatively, open Settings → Security on a device that already works, find the row marked NOT APPROVED and press Approve.
- Approving hands over history: every conversation key that device holds is re-wrapped for the new one and sent in a batch, so the new device can read the past rather than only what arrives next.
Check a device is really the one you think
- Press Verify on the row.
- Open the same screen on the other device and compare the numbers. If they match, nobody substituted a key in between — including us.
Link a device instead of typing a password
On the device being added (it has no session yet):
- Go to
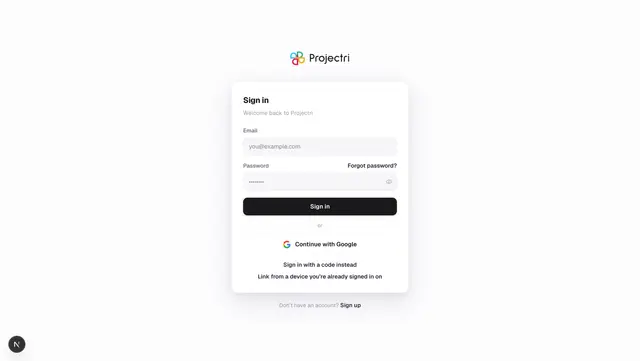
/loginand choose Link from a device you're already signed in on, or open the Link screen in the phone app. - It draws a QR code and an eight-character code, with a countdown.
On the device you are already using:
- Open Settings → Security → Link a device.
- Scan the QR if your browser can — the button only appears where scanning actually works — or type the eight characters.
- Confirm the sheet, which shows the device's own label and the safety number between the two.
The new device is signed in and holds every key.
Unlink or sign out a device
- On the Active sessions card, a linked device's button says Unlink and an ordinary one says Sign out. Sign out everywhere else ends every session but this one.
- On the Encrypted message devices card, Revoke removes a device's key. Revoking a linked device also ends its session.
Recover when a device was revoked
If this browser's own key was revoked, the card says so and offers Create a new key. It generates a fresh keypair and registers it as a new, unapproved device — it grants nothing on its own, and still has to be approved from a device that works.
Set up a recovery key
- On the recovery card, generate a recovery code and write it down now — it is not stored anywhere in a form we can read.
- You may instead supply a long passphrase. The minimum is 12 characters, and length is the only thing that helps.
- To use it on a device with nothing left to approve from, enter the recovery code and your account password. That device becomes the one your code protects, and everything you could read before becomes readable there, with no approval needed.
What it affects
- Approving a device gives it your message history, not just future messages.
- Signing a session out never removes a key. A signed-out device keeps every conversation key and gets straight back to them at the next sign-in. Unlinking is the deliberate exception: it does both halves at once, because a linked device was never two objects to the person who made it.
- Sessions are counted in two pools. One ordinary session per platform — one browser, one iPhone, one Android — plus up to three linked devices. A full linked pool never blocks an ordinary sign-in, and vice versa.
- A device waiting for approval is asked about at most once an hour, so repeated launches do not spam your other devices.
- Revocation is sticky. A revoked key cannot talk its way back in on its own. Linking is the one exception, and deliberately so — that is not the device asking, it is you holding an approved device and pointing a camera at the screen.
On mobile
Settings → Devices lists every registered device with the same badges — Linked, Approved, Not approved — and the same Approve, Revoke and Link a device actions. Settings → Account security holds the session list, including Sign out everywhere else. Scanning a QR needs the camera permission; the typed code is always available.
Limits and gotchas
- A pairing code lives two minutes and is single use. It also dies when it leaves the screen, so the window is the time the code is actually visible. Six wrong codes end it.
- Typing the code is weaker than scanning it. Eight characters cannot carry a 64-character key fingerprint, so the typed path falls back to you comparing the safety number by eye. The screen says which guarantee is in force.
- Scanning from a browser is not always possible. The camera is only offered where the browser has the barcode API and a secure origin; elsewhere the typed code appears alone rather than a button that does nothing.
- The device being added always draws the QR — never the one already signed in.
- The claimer must already hold an approved device. A stolen password reaches the linking endpoint and is refused, because it has nothing to vouch with.
- A message you cannot open reads as encrypted, not broken. That is the ordinary state for a device that has not been approved yet, or joined the conversation late.
Related
- Signing in — the link-a-device pane on the login screen.
- Messaging and encryption — the model in full.
- Direct messages — what encryption costs in daily use.
- The mobile app — getting the phone signed in.